
Creating an autoresponder in GetResponse is a straightforward process that can greatly enhance your email marketing strategy. Below is a tutorial on how to set up an autoresponder in Getresponse.If you want to know what Getresponse is read here
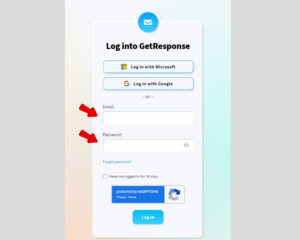
Step 1: Log into Your GetResponse Account
Start by logging into your GetResponse account. If you don’t have an account, you can sign up for a free trial.Watch the video on how to create a free Getreponse account.
Login to your GetResponse account.
If you want to know the review of Getresponse read here
Step 2: Navigate to the Autoresponders Section
Once logged in, go to the top menu and click on “Automation.” From the drop-down menu, select “Autoresponders.”
Click on Automation and select Autoresponders.

Step 3: Create a New Autoresponder
In the Autoresponders section, click the “Create Autoresponder” button.
Click the Create Autoresponder button.

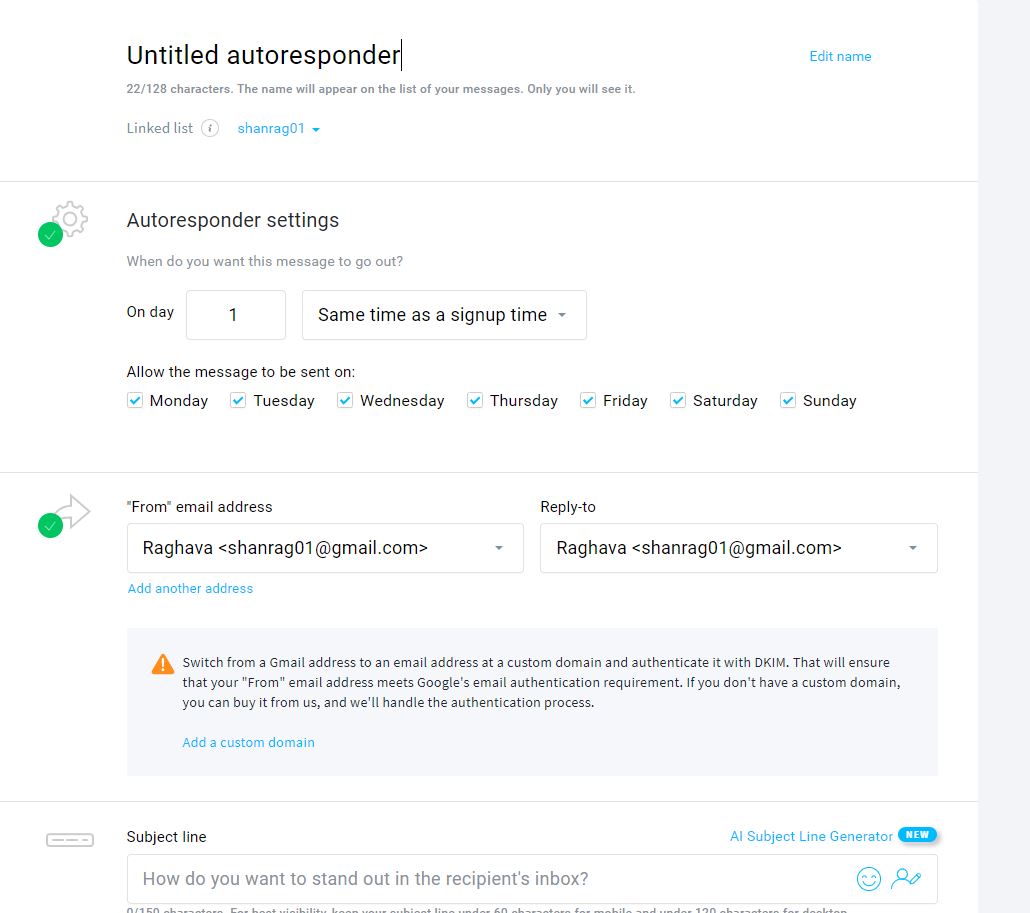
Step 4: Set Up Your Autoresponder Details
- Name Your Autoresponder: Give your autoresponder a unique name for easy identification.
- Choose a Sender: Select the sender email and name that will appear in your recipients’ inboxes.
- Select a Campaign: Choose the campaign to which this autoresponder will belong. If you haven’t created a campaign yet, you can do so from this step.
- Set the Timing: Choose when the autoresponder will be sent (e.g., immediately after sign-up, 1 day later, etc.).
Fill in the details for your autoresponder.
Step 5: Design Your Email
Next, you’ll design the email that will be sent as part of your autoresponder sequence. Click on “Design Email.”
- Choose a Template: GetResponse offers various templates. Select one that suits your branding.
- Edit Your Email Content: Use the drag-and-drop editor to customize your email. Add text, images, buttons, and any other elements you want.
- Preview Your Email: Always preview your email to see how it will look to your recipients.
Design your email using the drag-and-drop editor.

Step 6: Set Up Tracking and Optimization
Once your email is designed, you can set up tracking options, such as open rates and click rates. This information is crucial for analyzing the effectiveness of your autoresponder.
Set tracking options for better insights.
Step 7: Save and Activate Your Autoresponder
After you’ve finalized everything, click “Save & Publish.” Your autoresponder is now live!
Save and activate your autoresponder.
Conclusion
Congratulations! You’ve successfully created an autoresponder in GetResponse. Autoresponders are a powerful tool for nurturing leads and maintaining engagement with your audience. Be sure to monitor the performance and tweak your campaigns as needed for optimal results.
Additional Tips
- A/B Testing: Consider A/B testing different subject lines or email content to see what resonates best with your audience.
- Segment Your Audience: Use segmentation to tailor your messages more precisely to different groups within your list.
- Follow Up Regularly: Continue building your autoresponder series to keep your audience engaged over time.
By following this tutorial, you can effectively set up an autoresponder to enhance your email marketing strategy with GetResponse. Happy emailing!
